


Siding Replacement and Installation Process: Timeline, Prep & Best Season
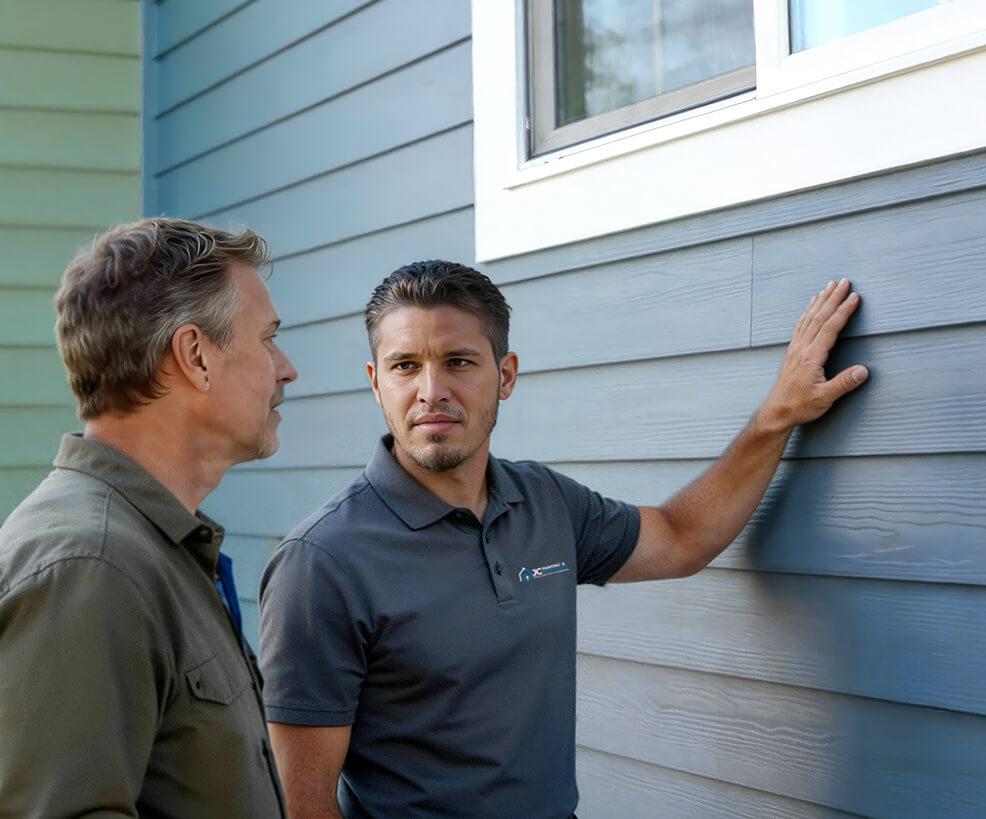
Replacing the siding on your home is one of the most valuable exterior projects you can take on. It protects the structure from moisture, improves energy efficiency, and can transform how your home looks from the street. It is also a project with a lot of moving parts. Knowing what happens, when it happens, and how to prepare will save you stress, money, and costly delays.
This guide walks through the full siding replacement process, from the first warning signs to the final cleanup. You will also learn how long the project usually takes, how to prepare your property, and which season is best for the work.
Signs It Is Time to Replace Your Siding
Before planning a timeline, it helps to confirm that replacement is actually the right move. Minor damage can often be repaired, but widespread problems usually mean it is time for new siding.
Watch for these common warning signs:
- Cracked, warped, or buckled panels that no longer lie flat against the wall
- Rot, soft spots, or crumbling boards, especially near the foundation, windows, and rooflines
- Mold, mildew, or moss that returns quickly after cleaning
- Bubbling or peeling paint or finish, which often points to trapped moisture
- Faded or chalky color that signals the material is breaking down
- Higher energy bills with no other clear cause, which can mean poor insulation or air leaks
- Visible gaps, holes, or signs of pests, such as woodpecker damage or insect trails
- Interior symptoms, such as peeling wallpaper, damp walls, or musty smells
If you notice several of these at once, a professional inspection is a smart next step. A good contractor will check the siding and the wall structure underneath, since hidden water damage is common.
Choosing the Right Siding Material
Your material choice affects cost, appearance, lifespan, and even the installation timeline. Here is a quick comparison of the most popular options.
|
Material |
Typical Lifespan |
Maintenance |
Relative Cost |
Notes |
|---|---|---|---|---|
|
Vinyl |
20 to 40 years |
Low |
Lowest |
Budget friendly, many colors, fast to install |
|
Fiber cement |
30 to 50 years |
Moderate (repainting) |
High |
Durable, fire resistant, heavier and slower to install |
|
Wood |
20 to 40 years |
High |
High |
Natural look, needs regular sealing or painting |
|
Engineered wood |
20 to 30 years |
Moderate |
Medium |
Wood appearance with better pest and rot resistance |
|
Metal (steel or aluminum) |
40 to 70 years |
Low |
High |
Very durable, can dent in some climates |
|
Brick or stone veneer |
50+ years |
Very low |
Highest |
Premium look, longest timeline |
When choosing, think about your local climate, your budget, how much upkeep you are willing to do, and any rules from your homeowners association or local historic district.
The Siding Replacement Process, Step by Step
Every contractor has their own workflow, but most professional siding projects follow the same core sequence.
Step 1: Consultation and Inspection
The process begins with an on-site visit. The contractor measures your home, inspects the existing siding and the wall sheathing, and discusses materials, colors, and budget. This is the time to ask about licensing, insurance, warranties, and references.
Step 2: Estimate and Contract
You will receive a written estimate that should list the materials, labor, removal and disposal costs, trim and flashing, and any allowances for hidden repairs. Review the contract carefully. It should include a start date, an expected completion date, a payment schedule, and warranty terms.
Step 3: Permits and Approvals
Many areas require a building permit for full siding replacement. Your contractor should handle this, but confirm it in writing. If you live in an HOA or historic district, you may also need design approval before ordering materials.
Step 4: Ordering Materials
Standard materials may arrive within a week or two. Special orders, custom colors, and fiber cement products can take several weeks. Ordering early prevents delays once the crew is ready to start.
Step 5: Removing the Old Siding
Crews strip the existing siding from the walls and haul away the debris. This is often the messiest and loudest phase. Expect nails, dust, and scraps to fall around the foundation, so tarps are used to protect landscaping.
Step 6: Inspecting and Repairing the Wall Structure
Once the old siding is off, the crew checks the sheathing and framing. Any rot, mold, or pest damage should be repaired before new siding goes up. This is where unexpected costs often appear, so it helps to set aside a contingency budget of 10 to 15 percent.
Step 7: Installing the Weather Barrier
A house wrap or weather-resistant barrier goes over the sheathing. Seams are taped and the barrier is lapped correctly so water drains outward. Flashing is installed around windows, doors, and other openings. This hidden layer does much of the real work of keeping your home dry.
Step 8: Adding Insulation (Optional)
Some homeowners add rigid foam insulation beneath the siding. It can reduce heat loss, cut energy bills, and make the home more comfortable year round.
Step 9: Installing the New Siding
Installers work from the bottom of the wall upward, starting with a starter strip and ending at the soffit or roofline. Panels or boards are fastened with proper spacing so they can expand and contract with temperature changes. Corners, trim, and accessories like vents and light mounts are installed as the work progresses.
Step 10: Trim, Caulking, and Finishing Touches
Crews add corner posts, window and door trim, and caulk where needed. If your siding requires paint or sealing, such as wood or some fiber cement products, that happens here.
Step 11: Cleanup and Final Inspection
The crew removes debris and uses magnets to collect stray nails. You then do a walkthrough with the project manager to check for gaps, scratches, uneven panels, or missed details. If a permit was required, a municipal inspector may also visit.
How Long Does Siding Replacement Take?
The actual installation is usually faster than homeowners expect, but the full project from first call to finished walls takes longer once planning is included.
Typical Installation Time by Home Size
|
Home Size |
Approximate Installation Time |
|---|---|
|
Small home (under 1,500 sq. ft.) |
3 to 5 days |
|
Medium home (1,500 to 2,500 sq. ft.) |
1 to 2 weeks |
|
Large home (over 2,500 sq. ft.) |
2 to 3 weeks |
|
Complex or multi-story homes |
3 weeks or more |
These ranges assume a professional crew and normal conditions.
Full Project Timeline
Here is a realistic overview of the entire process from start to finish:
- Research and contractor selection: 1 to 4 weeks
- Estimate, contract, and permit approval: 1 to 3 weeks
- Material ordering and delivery: 1 to 6 weeks
- Installation: 3 days to 3 weeks
- Final inspection and punch list: 1 to 3 days
In total, plan on roughly 1.5 to 3 months from your first consultation to completion. Busy seasons can push this longer.
What Can Slow the Project Down
- Bad weather, especially heavy rain, snow, or high winds
- Hidden damage found after the old siding is removed
- Material backorders or color changes
- Permit delays or inspection scheduling
- Complex architecture, such as many gables, dormers, or odd angles
- Change orders that alter the scope midway through the job
How to Prepare Your Home and Property
Good preparation makes the job smoother and protects your belongings. Start getting ready a week or two before the crew arrives.
Outside the Home
- Trim back trees, shrubs, and vines that touch the walls so crews have room to work
- Move outdoor furniture, grills, planters, and decorations away from the house
- Clear a path around the home and a spot for the dumpster and material delivery
- Protect plants and landscaping with tarps, or ask the crew to do so
- Remove or cover delicate items like garden art, fragile fixtures, and anything attached to the siding
- Mark sprinkler heads, irrigation lines, and buried cables so they are not damaged
- Move vehicles out of the driveway or any areas where work and deliveries will occur
Inside the Home
Vibration from hammering and removal can shake things loose, so take a few precautions.
- Take pictures and wall hangings down from exterior walls
- Secure or remove fragile items such as glassware, shelves, and collectibles near outside walls
- Cover furniture in rooms along exterior walls to protect against dust
- Plan for noise, especially if you work from home or have young children or pets
Communication and Logistics
- Confirm access to outdoor outlets and water if the crew needs them
- Share gate codes or key information with the crew
- Tell your neighbors about the project so they are not surprised by noise or dumpsters
- Ask about daily start times and cleanup routines so you know what to expect
- Keep pets indoors or away from work areas for their safety
Best Season for Siding Replacement
Siding can technically be installed in any season, but timing affects cost, scheduling, and the quality of the finished job.
Spring
Spring offers mild temperatures and moderate weather, which many installers love. Wood, paint, and caulk cure well in these conditions. The downside is demand. Contractors book up quickly, so reserve your slot early.
Summer
Summer provides long daylight hours and dry conditions, so crews often finish faster. However, it is peak season, which can mean higher prices and longer waits. Extreme heat can also make vinyl more prone to expansion issues if it is not installed with proper spacing.
Fall
Fall is widely considered the best overall season. Temperatures are comfortable, rain is often more predictable, and contractors may have more openings after the summer rush. You also get the new siding in place before winter weather arrives. For many homeowners, early fall is the ideal window.
Winter
Winter can work in milder climates and sometimes offers lower prices because demand is low. In cold regions, though, freezing temperatures can make vinyl brittle, interfere with caulk and paint curing, and slow the work. Snow and ice add safety risks and delays.
Season Comparison at a Glance
|
Season |
Pros |
Cons |
|---|---|---|
|
Spring |
Mild weather, good curing conditions |
High demand, booked schedules |
|
Summer |
Long days, dry weather |
Peak pricing, heat concerns |
|
Fall |
Comfortable temperatures, more availability |
Shorter days late in the season |
|
Winter |
Possible discounts, open schedules |
Cold, brittle materials, weather delays |
Bottom line: For most regions, early fall and late spring are the sweet spots. If you want savings and live in a mild climate, consider scheduling in the off-season.
Budgeting and Cost Considerations
Siding costs vary widely based on material, home size, labor rates in your area, and the complexity of the job. As a general guide, vinyl sits at the lower end, fiber cement and wood in the middle to upper range, and metal or masonry veneer at the top.
Keep these budget tips in mind:
- Get at least three quotes and compare the scope, not just the price
- Ask what is included, such as removal, disposal, trim, flashing, and house wrap
- Set aside a contingency fund for hidden repairs
- Look into incentives, since insulated siding or energy upgrades may qualify for rebates or tax credits in some areas
- Check your insurance policy if the damage came from a storm, hail, or another covered event
Choosing a Reliable Siding Contractor
The quality of installation matters as much as the material you pick. Poor installation can cause leaks, rot, and early failure, even with premium products.
When vetting contractors, look for:
- Proper licensing and insurance, including liability and workers' compensation
- Manufacturer certifications, which can unlock stronger warranties
- Local references and recent project photos
- Clear written estimates with no vague line items
- A solid warranty covering both materials and workmanship
- Good communication, including prompt replies and a named project contact
Be cautious of anyone who demands a large upfront payment, pressures you to sign quickly, or offers a price far below every other bid.
Common Mistakes to Avoid
- Skipping the weather barrier or flashing, which invites moisture problems later
- Choosing a contractor on price alone
- Ignoring ventilation and moisture issues that caused the original damage
- Rushing the decision and ordering a color you have not seen in natural light
- Failing to plan for hidden repairs in the budget
- Installing during extreme weather when materials do not perform well
- Not documenting the project with photos before, during, and after
Aftercare and Maintenance
Once your new siding is up, a little regular care helps it last for decades.
- Rinse it gently once or twice a year with a garden hose or soft brush
- Inspect it each season for cracks, loose panels, or signs of moisture
- Keep plants and sprinklers away from the walls
- Repaint or reseal wood and fiber cement as recommended by the manufacturer
- Fix small problems quickly before they grow into costly repairs
- Keep your warranty paperwork and maintenance records in one place
Frequently Asked Questions
Can I stay in my home during siding replacement?
Yes. Most homeowners stay home during the project. Expect noise and some dust, and plan accordingly if you work remotely or have sensitive family members.
Do I need to be home every day?
Not necessarily, but it helps to be reachable. Crews may need decisions about trim, color, or unexpected repairs.
Can new siding be installed over old siding?
Sometimes, but it is not always wise. Covering old siding can hide moisture damage and make walls thicker around windows and doors. Removing the old siding allows a full inspection and a better result.
Will new siding increase my home's value?
In many markets, siding replacement offers one of the stronger returns among exterior projects, along with better curb appeal and energy performance.
How do I know if the job was done correctly?
Look for straight, even lines, tight and consistent seams, clean trim work, properly sealed penetrations, and no visible gaps. Do a final walkthrough before making the last payment.
Final Thoughts
A siding replacement is a significant investment, but it pays off in protection, comfort, and curb appeal. By understanding the steps involved, planning for a realistic timeline, preparing your home properly, and choosing the right season, you can avoid most of the common headaches. Take your time with research, insist on clear contracts, and prioritize quality installation. With the right preparation, you will end up with a home that looks great and stays protected for many years to come.

 English
 French
 Spanish
 Portuguese
 Deutsch
 Turkish
 Dutch
 Italiano
 Russian
 Romaian
 Portuguese (Brazil)
 Greek